Engaging children in creative activities is a wonderful way to foster their imagination and fine motor skills. One such activity that combines art and nature is the Ladybug Art Activity. This elementary yet becharm labor allows children to explore their esthetic side while memorise about these charming insects. Let's dive into the steps and materials needed to make a delicious ladybug art piece.
Materials Needed
Before you begin, gathering the follow materials:
- Red and black construction composition or cardstock
- Scissors (safety scissors for younger children)
- Glue stick or school glue
- Googly eyes
- Black marker or pen
- Optional: Pipe cleaners, pom poms, or other decorative items
Step by Step Guide
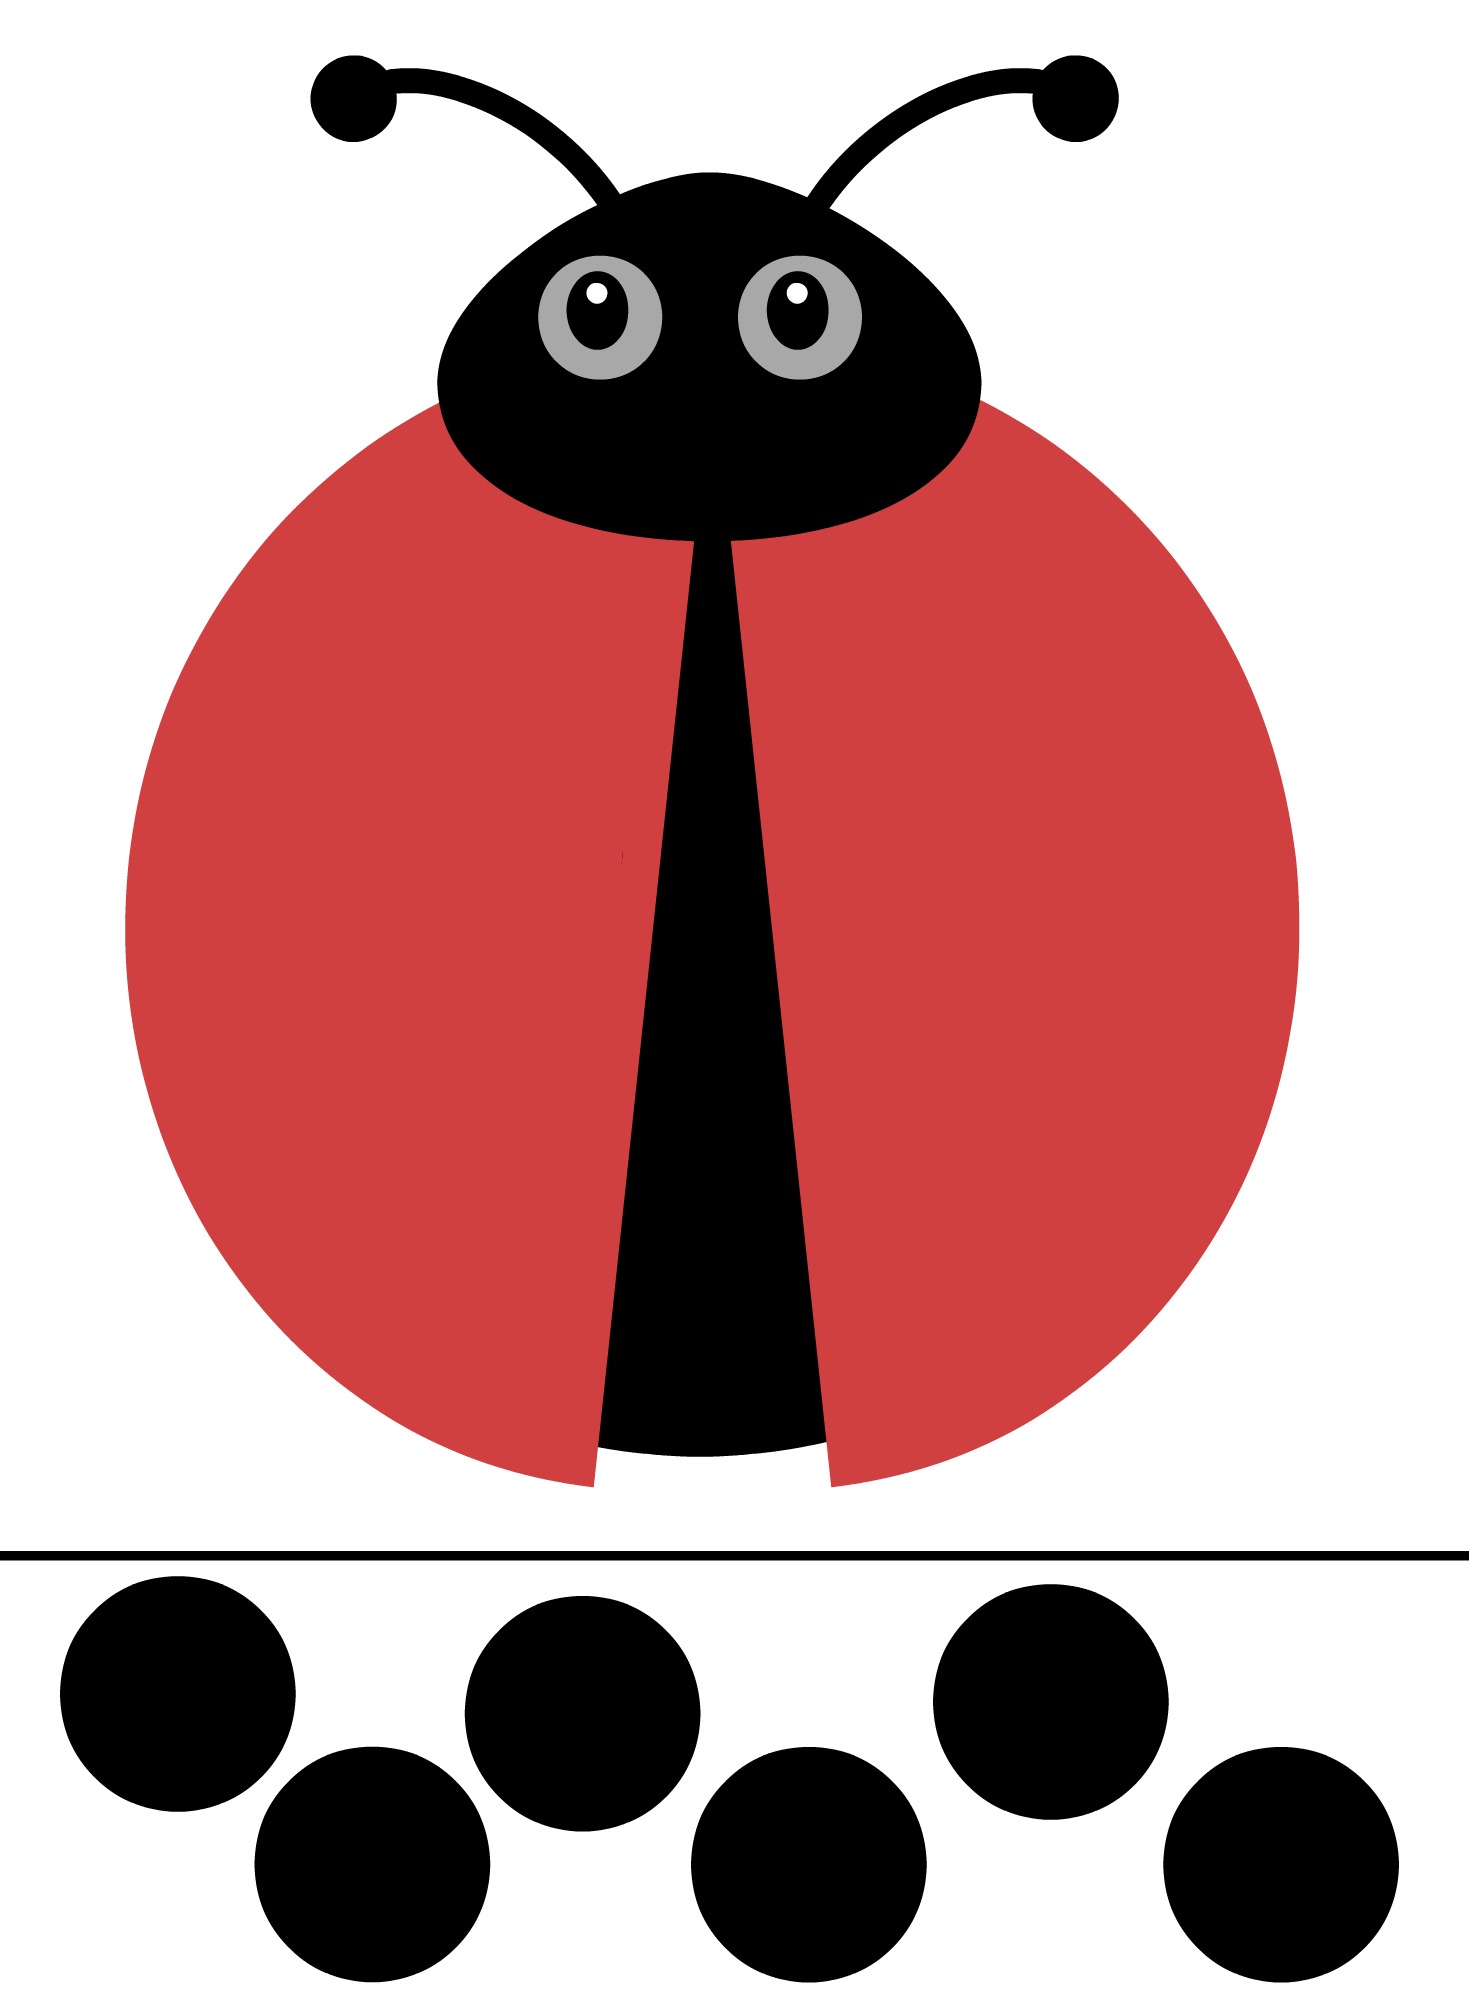
Step 1: Prepare the Ladybug Body
Start by trend out a orotund red circle from the red construction paper. This will function as the body of the ladybug. The size can vary depend on the age and skill level of the child. For younger children, a larger circle is easier to handle.
Step 2: Create the Ladybug Spots
Next, cut out various modest black circles from the black building paper. These will be the spots on the ladybug s back. You can vary the size and number of spots to create each ladybug unique. Encourage children to experiment with different patterns and arrangements.
Step 3: Assemble the Ladybug
Using the glue stick or school glue, attach the black spots to the red circle. Make sure the spots are evenly dispense and firmly glued. Allow the glue to dry completely before travel on to the next step.
Step 4: Add the Head and Antennae
Cut out a smaller black circle for the ladybug s head. Glue it to the top of the red circle. For the antennae, you can use pipe cleaners or simply draw them with a black marking. If using pipe cleaners, cut them into little pieces and attach them to the head with glue.
Step 5: Attach the Googly Eyes
Glue the googly eyes onto the ladybug s head. This step adds a fun and impulsive touch to the artwork. Make sure the eyes are securely attached so they don t fall off easy.
Step 6: Draw the Details
Using a black mark, draw additional details such as a smile or other facial features. You can also draw legs or other decorative elements to raise the ladybug s appearance. Encourage children to be originative and add their own unique touches.
Note: For younger children, pre swerve the circles and furnish them with pre paste spots can get the action easier and less frustrating.
Variations and Extensions
The Ladybug Art Activity can be adapted in respective ways to keep children absorb and excited. Here are a few ideas:
Nature Walk and Observation
Before depart the art action, take the children on a nature walk to observe existent ladybugs. Encourage them to note the colors, patterns, and behaviors of these insects. This hands on experience can enhance their understanding and grasp of nature.
Storytelling
Create a story around the ladybugs. for case, you can tell a tale about a ladybug family living in a garden, and how they aid keep the plants healthy by eat pests. This can make the art activity more meaningful and engross.
Group Activity
Turn the Ladybug Art Activity into a group task. Have each child create their own ladybug and then combine them to make a larger scene, such as a garden or a battlefield. This collaborative effort can foster teamwork and societal skills.
Additional Decorations
Encourage children to add extra decorations to their ladybugs using pom poms, sequins, or other craft materials. This can make each ladybug unparalleled and personalized.
Educational Benefits
The Ladybug Art Activity offers numerous educational benefits for children:
- Fine Motor Skills: Cutting, gluing, and draw aid develop fine motor skills and hand eye coordination.
- Creativity: Encourages children to express their creativity and imagination through art.
- Nature Awareness: Teaches children about ladybugs and their role in the ecosystem.
- Social Skills: Group activities can enhance societal interaction and teamwork.
Ladybug Facts
To get the Ladybug Art Activity even more educational, share some interesting facts about ladybugs with the children:
| Fact | Description |
|---|---|
| Scientific Name | Ladybugs belong to the family Coccinellidae. The name ladybug comes from the Middle Ages when farmers beg to the Virgin Mary for security against pests, and the beetles were seen as her minions. |
| Diet | Ladybugs mainly feed on aphids and other pocket-size insects, make them beneficial for gardens and farms. |
| Lifespan | The average lifespan of a ladybug is about one year, but some species can live up to three years. |
| Colors and Patterns | Ladybugs come in various colors and patterns, but the most common are red with black spots. |
| Defense Mechanism | When threatened, ladybugs can secrete a foul tasting fluid from their leg joints to deter predators. |
Incorporating these facts into the action can create it more pursue and educational for children.
Note: Encourage children to share what they have con about ladybugs with their friends and family, reenforce their new cognition.
to summarise, the Ladybug Art Activity is a fun and educational way to engage children in creative verbalism while teaching them about nature. By follow the elementary steps and using promptly available materials, children can create beautiful ladybug art pieces that they will be proud to display. This action not only enhances fine motor skills and creativity but also fosters an taste for the natural macrocosm. Whether done individually or as a group, the Ladybug Art Activity is sure to be a hit with children of all ages.
Related Terms:
- cute ladybug art
- ladybug artwork
- ladybug line art
- ladybug art for kids
- ladybug art ideas
- ladybug insect art