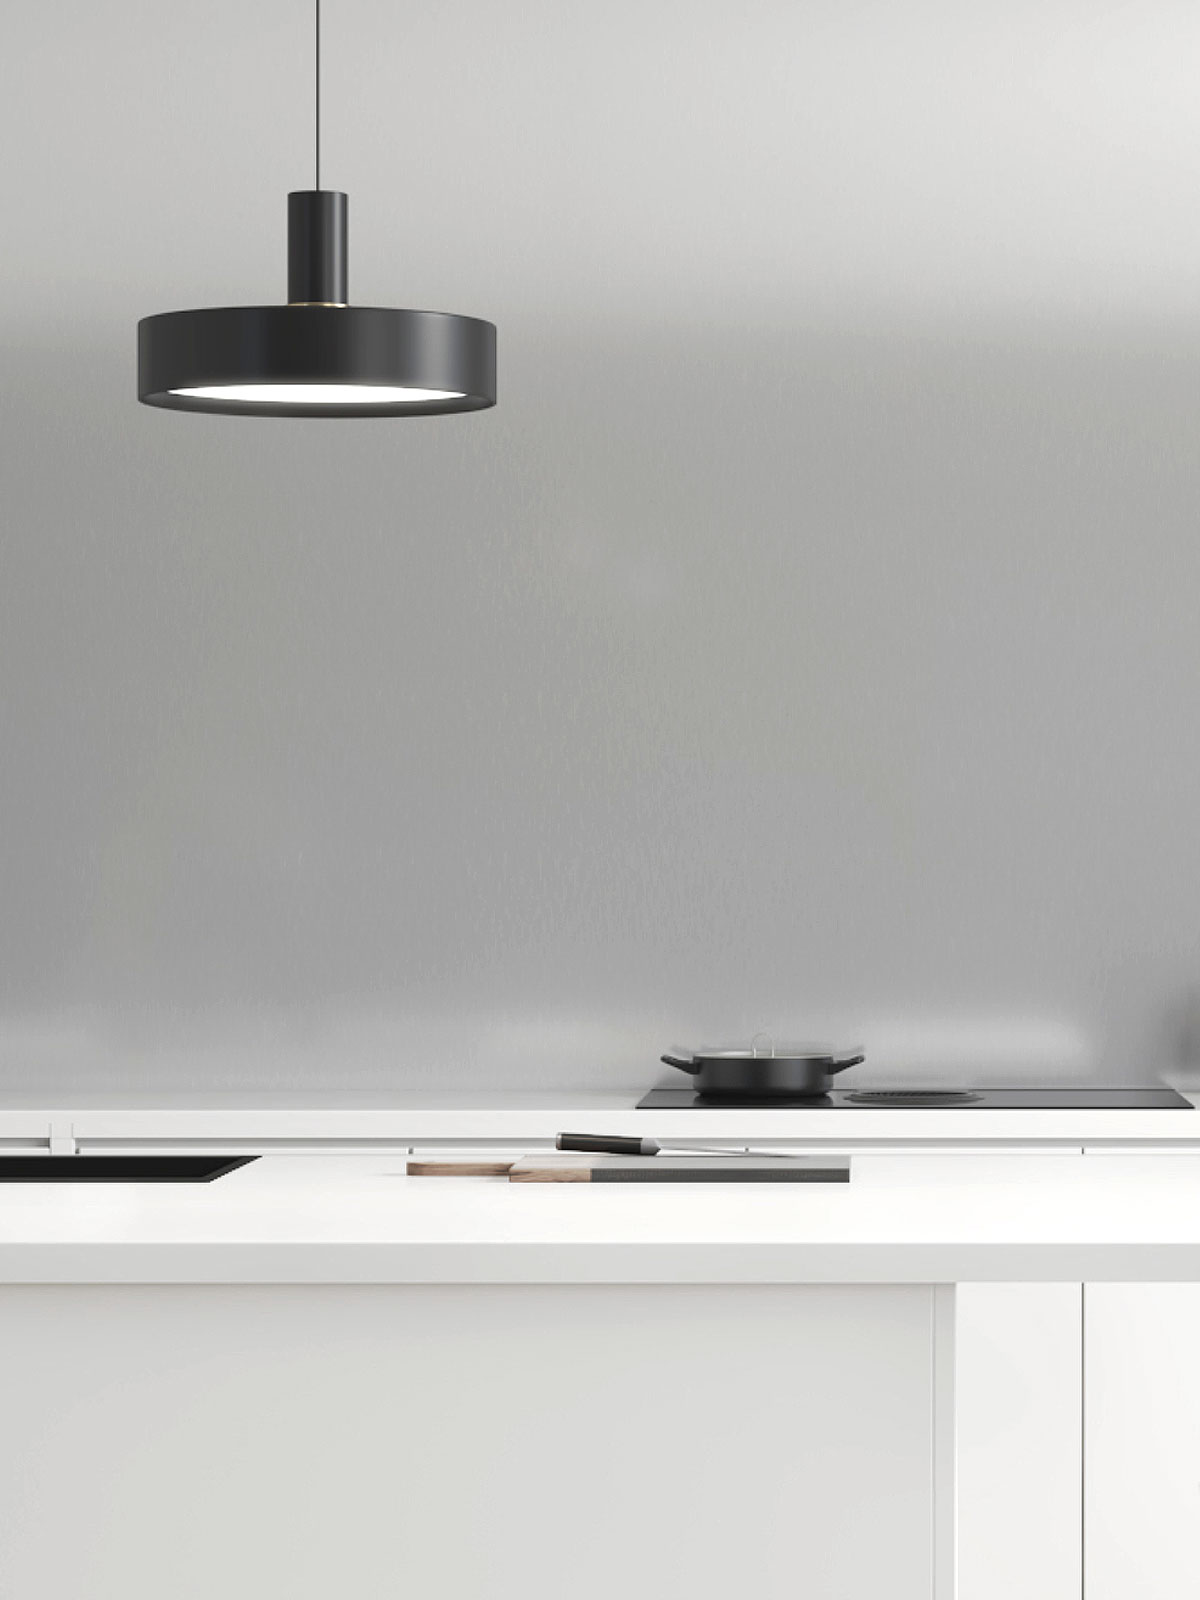
Creating a *groutless tile backsplash* transforms kitchen spaces with clean lines, modern elegance, and effortless maintenance. Unlike traditional tiled walls where grout lines create subtle texture and potential dirt traps, a groutless design offers a seamless surface that enhances both aesthetics and hygiene. This style relies on precision installation—where tiles are carefully aligned and secured without visible grout—to deliver a sleek, contemporary look. Whether you're renovating a small urban kitchen or designing a spacious open-plan space, a groutless tile backsplash delivers durability, visual continuity, and a fresh, minimalist vibe. By eliminating grout, this approach reduces maintenance, prevents mold growth, and creates a smooth canvas that reflects light beautifully, making every corner feel larger and more inviting.
| Step | Description |
|---|---|
| 1. Choose the Right Tiles | Opt for large-format porcelain or ceramic tiles—typically 12x12 inches or bigger—to minimize grout lines and support the groutless method. Select matte or satin finishes for a soft, modern appearance. |
| 2. Prepare the Wall Surface | Ensure the wall is structurally sound, clean, and completely dry. Use a level to mark straight vertical guides; proper alignment is critical for a flawless groutless finish. |
| 3. Install Adhesive with Precision | Apply a high-strength tile adhesive evenly across the wall, using a notched trowel to achieve consistent depth. Let it cure fully before proceeding. |
| 4. Place Tiles Without Grout | Position each tile using spacers to maintain uniform gaps—though in groutless installations, these gaps are intentionally minimized and often filled later with clear silicone or epoxy sealant. |
| 5. Secure with Reinforced Fixings | Use stainless steel or plastic anchors behind each tile to ensure stability, especially in high-moisture areas like kitchen backsplashes. |
| 6. Seal Edges and Finish | After installation, inspect seams and apply a protective sealant to edges and groutless joints to prevent moisture infiltration and enhance longevity. |
Note: A groutless tile backsplash demands careful planning and skilled execution—poor installation can lead to uneven surfaces or future leaks.
Note: Regular cleaning with mild detergent preserves the smooth surface; avoid abrasive scrubbers that might damage tile finishes.
Note: For optimal results, consult professionals experienced in groutless systems, particularly when integrating under-cabinet lighting or water-resistant sealants.
创建一个成功的无缝瓷砖后墙设计,核心在于精准的施工与材料选择。首先,选用大尺寸瓷砖(如12x12英寸或更大)可有效减少接缝线条,增强视觉连续性。其次,墙面必须平整、干燥且承重良好,任何不平整都会影响整体美观和结构稳定性。使用专用高强度胶粘剂,并严格按推子深度铺贴,确保每块瓷砖稳固固定。安装过程中,间隔器帮助保持均匀间距,但在真正的无缝设计中,这些间隙极小,通常会在后期填充透明硅胶或环氧树脂密封剂。最后,边缘固定采用耐腐蚀的锚固件,提升耐用性,尤其适合厨房这样潮湿环境。
无缝瓷砖背板不仅视觉上带来现代简约感,还因表面光滑、易清洁而广受欢迎。它消除了传统灰浆可能滋生污垢和霉菌的隐患,极大降低日常维护成本。同时,光线在无缝表面反射更均匀,使空间显得更宽敞明亮,提升整体居住品质。在设计中,搭配柔和色调与大面积瓷砖,可打造出宁静、高端的厨房氛围,完美契合现代家居审美趋势。
无缝瓷砖背板的魅力不仅在于外观,更在于其功能性与耐久性的结合。通过科学选材与严谨施工, homeowners 可以享受既美观又实用的厨房后墙,实现从设计到使用的全方位升级。
Related Terms:
- backsplash that doesn't require grout
- tile without grout installation
- shower tile without grout lines
- waterproof grout free wall tiles
- floor tile without grout lines
- install tile without grout