Embarking on the journey of creating digital art can be both exciting and challenging. One of the most rewarding aspects of digital art is the power to draw a shrub with precision and creativity. Whether you are a beginner or an have artist, overcome the art of force shrubs can add a touch of natural beauty to your digital creations. This guide will walk you through the steps to draw a shrub using digital tools, providing tips and techniques to aid you achieve a naturalistic and visually appeal result.
Understanding the Basics of Drawing a Shrub
Before plunge into the digital drawing summons, it's all-important to understand the basic structure and characteristics of a shrub. Shrubs are woody plants that are smaller than trees but larger than herbs. They typically have multiple stems grow from or near the ground and can vary in size and shape. Familiarizing yourself with these characteristics will facilitate you create a more accurate and lifelike shrub in your digital art.
Choosing the Right Tools
Selecting the right digital tools is essential for creating eminent quality art. There are several popular digital line software options available, each with its unique features and capabilities. Some of the most unremarkably used tools include:
- Adobe Photoshop
- Procreate
- Corel Painter
- Clip Studio Paint
- Krita
Each of these tools offers a range of brushes, layers, and effects that can facilitate you achieve the want seem for your shrub. Experiment with different tools to find the one that best suits your style and needs.
Setting Up Your Canvas
Once you have chosen your digital drawing creature, the next step is to set up your canvas. The size and resolution of your canvas will depend on the intended use of your artwork. for example, if you design to print your drawing, you may postulate a higher resolve. For digital use, a standard resolve of 300 DPI is usually sufficient.
Here are some tips for pose up your canvas:
- Choose a canvas size that matches your intended output (e. g., 8. 5 x 11 inches for print, 1920 x 1080 pixels for digital display).
- Set the declaration to 300 DPI for eminent quality prints or 72 DPI for digital use.
- Select a background color that complements your shrub (e. g., a light gray or white background).
Sketching the Basic Shape
Begin by sketching the basic shape of your shrub. Use a light pencil or brush to outline the overall form, include the chief stems and branches. This initial sketch will function as a fundament for your drawing and can be conform as needed.
Here are some steps to follow when sketch the canonic shape:
- Start with a rough outline of the shrub's overall shape.
- Add the independent stems and branches, assure they are proportionate and balanced.
- Use light, loose strokes to create a natural, organic appear.
Remember, the goal at this stage is to seizure the general form and construction of the shrub, not to add details.
Adding Details to the Shrub
Once you have the basic shape sketch out, it's time to add details to wreak your shrub to life. This includes bring smaller branches, leaves, and any other elements that contribute to the shrub's overall appearance. Use a variety of brushes and techniques to create texture and depth.
Here are some tips for adding details:
- Use a smaller brush to add finer details, such as pocket-size branches and leaves.
- Vary the size and shape of the leaves to make a more natural look.
- Add shadows and highlights to yield the shrub a three dimensional appearance.
Pay aid to the way and flow of the branches and leaves, as this will aid create a sense of movement and reality in your draw.
Coloring the Shrub
Coloring is an all-important step in bringing your shrub to life. Choose a coloration palette that complements the natural tones of the shrub and enhances its overall appearance. Use layers to construct up the colors gradually, allow for adjustments and blend as needed.
Here are some tips for coloring your shrub:
- Start with a base colouring for the shrub, such as a light green or brown.
- Add highlights and shadows to make depth and property.
- Use a variety of brushes and blending tools to accomplish a smooth, natural look.
Experiment with different colouration combinations and techniques to find the best approach for your shrub.
Adding Final Touches
After coloring your shrub, it's time to add the concluding touches that will bring your artwork to completion. This may include adding background elements, such as grass, rocks, or other plants, to create a more cohesive and realistic scene. Additionally, you can add textures and effects to enhance the overall appearance of your draw.
Here are some steps to postdate when adding final touches:
- Add background elements to make a sense of depth and context.
- Use textures and effects to enhance the reality of your shrub.
- Review your reap for any necessary adjustments or refinements.
Take your time with this step, as the terminal touches can importantly impact the overall quality of your artwork.
Note: When adding final touches, take the overall make-up of your artwork. Ensure that the shrub is the focal point and that the background elements complement rather than distract from it.
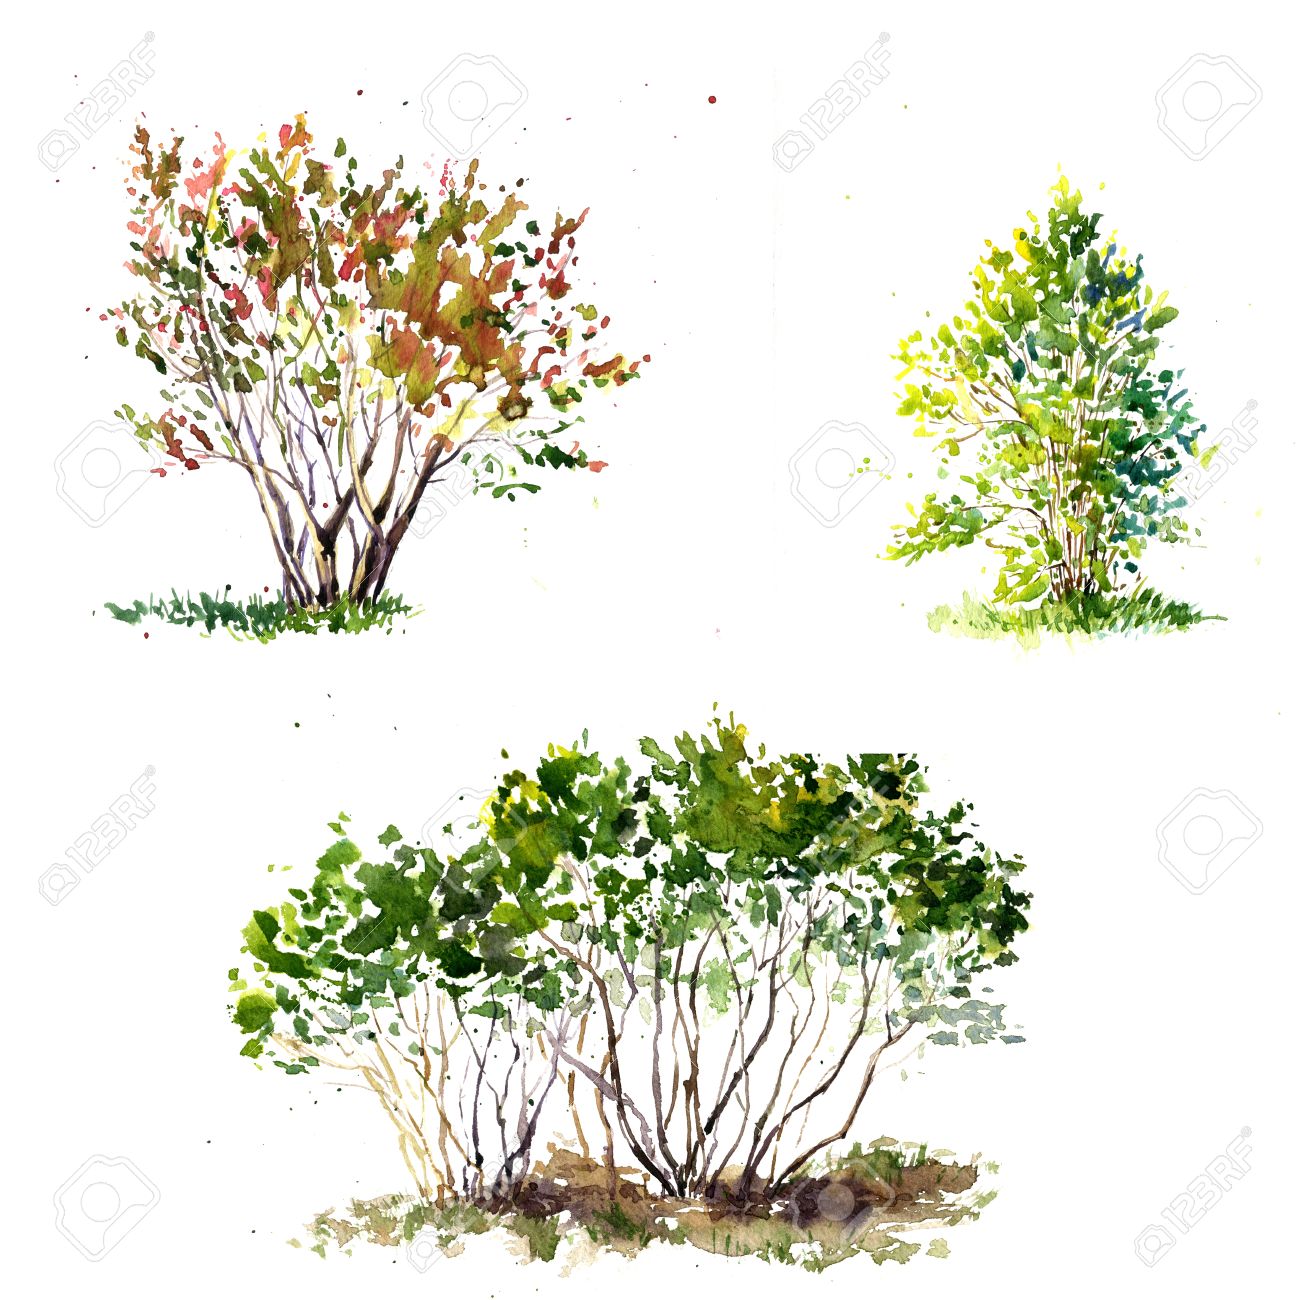
Examples of Digital Shrub Drawings
To inspire your own digital shrub drawings, here are some examples of artwork create by other artists. These examples showcase a variety of styles and techniques, evidence the versatility of digital art.
This representative features a detail and realistic shrub with intricate branches and leaves. The artist has used a combination of brushes and techniques to create a natural, organic appear.
In this stylize example, the artist has used bold colors and simplify shapes to make a unique and eye get shrub. The use of vibrant colors and dynamical brush strokes adds a modern twist to the traditional shrub pull.
Tips for Improving Your Shrub Drawings
Drawing a shrub can be a challenging but rewarding experience. Here are some tips to aid you improve your shrub drawings and achieve wagerer results:
- Study real life shrubs to translate their construction and characteristics.
- Practice sketching and delineate regularly to develop your skills.
- Experiment with different brushes, colors, and techniques to discover your unique style.
- Seek feedback from other artists and be open to constructive criticism.
By following these tips and endlessly practicing, you can heighten your power to draw a shrub and make stunning digital art.
to summarize, surmount the art of describe a shrub involves understanding the basic construction, opt the right tools, and following a step by step process to make a naturalistic and visually appealing result. By studying real life shrubs, practicing regularly, and experimenting with different techniques, you can meliorate your skills and create beautiful digital art. Whether you are a tyro or an live artist, the journey of line a shrub is a repay experience that allows you to express your creativity and wreak natural beauty to your digital creations.
Related Terms:
- how to draw realistic bushes
- simple describe of shrub
- realistic bushes drawing
- easy to draw bush
- diagram of a shrub
- shrub quick draw