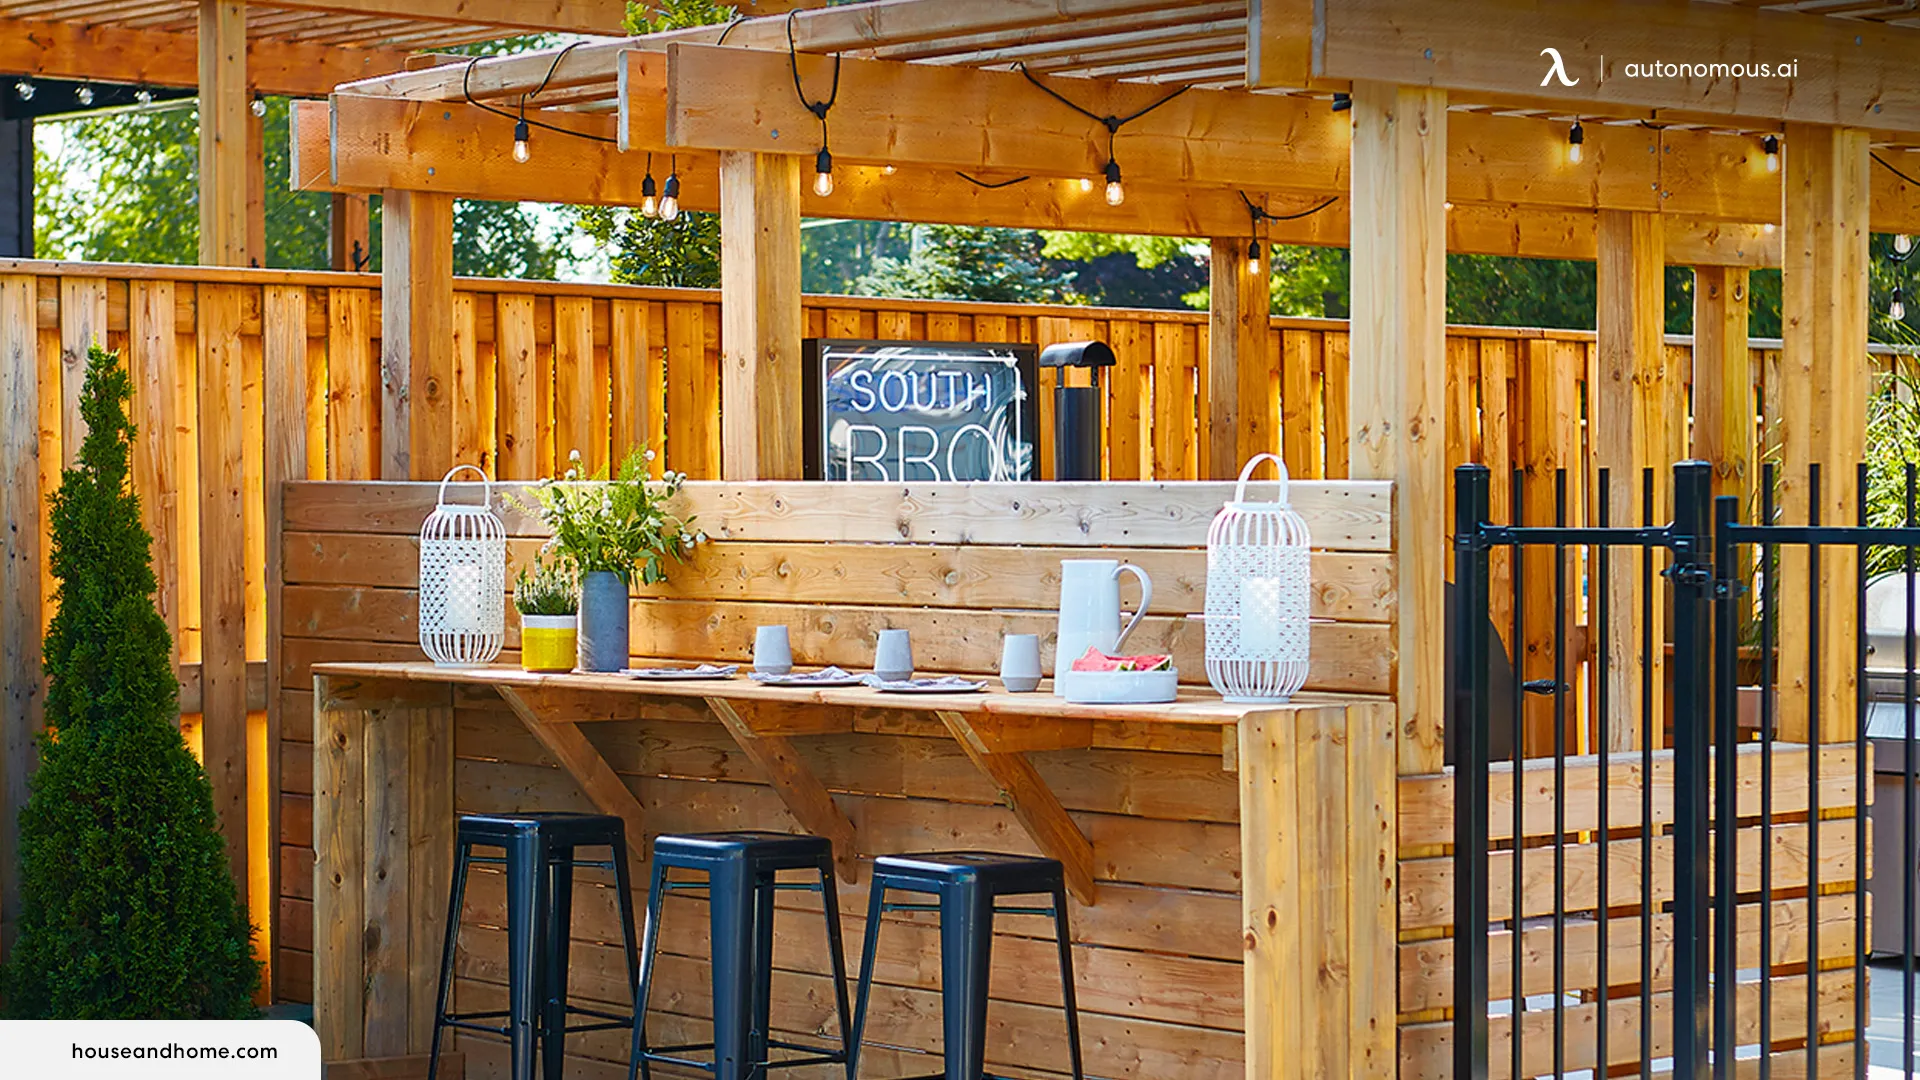
Creating a DIY outdoor bar can transform your backyard into a vibrant entertainment space. Whether you're hosting a summer party, enjoying a quiet even with friends, or but relax with a drink, a well design outdoor bar adds both functionality and style to your outdoor last area. This guidebook will walk you through the procedure of establish a DIY outdoor bar, from planning and design to construction and cease touches.
Planning Your DIY Outdoor Bar
Before you start building, it's crucial to plan your DIY outdoor bar cautiously. Consider the following factors:
- Location: Choose a spot that is easily approachable and has enough space for the bar and invest area.
- Size: Determine the size of the bar found on your needs and the available space. A standard bar is about 4 feet blanket and 2 feet deep, but you can adjust these dimensions to fit your requirements.
- Materials: Select long-lasting materials that can withstand outdoor elements. Popular choices include press treat lumber, composite materials, and metallic.
- Budget: Set a budget for your project and allocate funds for materials, tools, and any extra features like lighting or a sink.
Designing Your DIY Outdoor Bar
Designing your DIY outdoor bar involves creating a layout that is both functional and esthetically delight. Here are some design ideas to consider:
- Countertop Height: The standard countertop height for a bar is about 42 inches, but you can adjust this based on your preferences.
- Storage: Include shelves, cabinets, or drawers for store glasses, bottles, and other bar essentials.
- Seating: Add bar stools or a seat area nearby for guests to relax and enjoy their drinks.
- Lighting: Install outdoor perch to create a warm and invite atmosphere, peculiarly for even gatherings.
Here is a simple table to help you visualize the canonical dimensions of a DIY outdoor bar:
| Component | Standard Dimension |
|---|---|
| Countertop Height | 42 inches |
| Countertop Depth | 24 inches |
| Countertop Width | 48 inches |
| Shelf Height | 12 18 inches |
| Stool Height | 28 30 inches |
Gathering Materials and Tools
Once you have a plan and design in place, gather the necessary materials and tools for your DIY outdoor bar projection. Here's a list to get you begin:
- Materials:
- Pressure process timber or composite materials
- Plywood for shelves and cabinets
- Screws and nails
- Concrete blocks or pavers for the ground
- Countertop material (e. g., granite, marble, or concrete)
- Sealant and paint (optional)
- Tools:
- Saw (circular saw or mitre saw)
- Drill and screwdriver
- Level
- Tape mensurate
- Safety glasses and gloves
Note: Ensure you have all the necessary permits and follow local building codes before starting your labor.
Building the Base
Start by building a sturdy base for your DIY outdoor bar. This will ply constancy and support for the entire construction.
- Lay out concrete blocks or pavers in a rectangular shape, ascertain they are stage and equally space.
- Attach pressure treated timber or composite materials to the blocks using screws or nails, creating a frame for the base.
- Ensure the base is square and level before go to the next step.

Constructing the Frame
Next, construct the frame for your DIY outdoor bar. This will include the walls, shelves, and countertop back.
- Cut the timber to the desired dimensions for the walls and shelves.
- Attach the walls to the base using screws or nails, ensuring they are plumb and point.
- Install shelves and cabinets as needed, securing them to the walls with screws.
- Build a endorse construction for the countertop, ensuring it is level and sturdy.
Note: Use a point to secure all components are straight and even.
Adding the Countertop
The countertop is a important element of your DIY outdoor bar. Choose a long-lasting material that can withstand outdoor elements and provide a smooth surface for serving drinks.
- Measure and cut the countertop material to the want size.
- Attach the countertop to the endorse construction using screws or adhesive, see it is grade and untroubled.
- Seal the countertop with a waterproof sealant to protect it from moisture and weathering.
Finishing Touches
Once the introductory construction of your DIY outdoor bar is complete, add the complete touches to create it functional and inviting.
- Lighting: Install outdoor light, such as string lights or LED strips, to create a warm and inviting atmosphere.
- Seating: Add bar stools or a induct area nearby for guests to relax and enjoy their drinks.
- Decorations: Personalize your DIY outdoor bar with decorations like potted plants, outdoor rugs, or wall art.
- Storage: Organize your bar essentials, such as glasses, bottles, and mixers, in the shelves and cabinets.
Note: Regularly maintain your DIY outdoor bar by cleaning and sealing the surfaces to protect them from weathering and wear.
Building a DIY outdoor bar is a reward task that can raise your outdoor populate space. With measured planning, the right materials, and a bit of effort, you can make a functional and stylish bar that will be the centerpiece of your backyard gatherings. Whether you re hosting a summer party or savour a quiet evening with friends, your DIY outdoor bar will cater a perfect setting for relaxation and entertainment.
Related Terms:
- build your own patio bar
- outdoor bar ideas for backyard
- diy outdoor bar countertop
- diy outdoor bar table
- diy outdoor bar plans complimentary
- build your own backyard bar