Embarking on the journey to create a 3D print dinosaur is an exciting adventure that combines the wonders of paleontology with the cutting edge engineering of 3D print. Whether you're a hobbyist, educator, or enthusiast, convey a prehistoric beast to life through 3D publish is a reward experience. This usher will walk you through the operation of designing, publish, and forgather your own 3D print dinosaur, from take the right model to post processing techniques.
Choosing the Right 3D Print Dinosaur Model
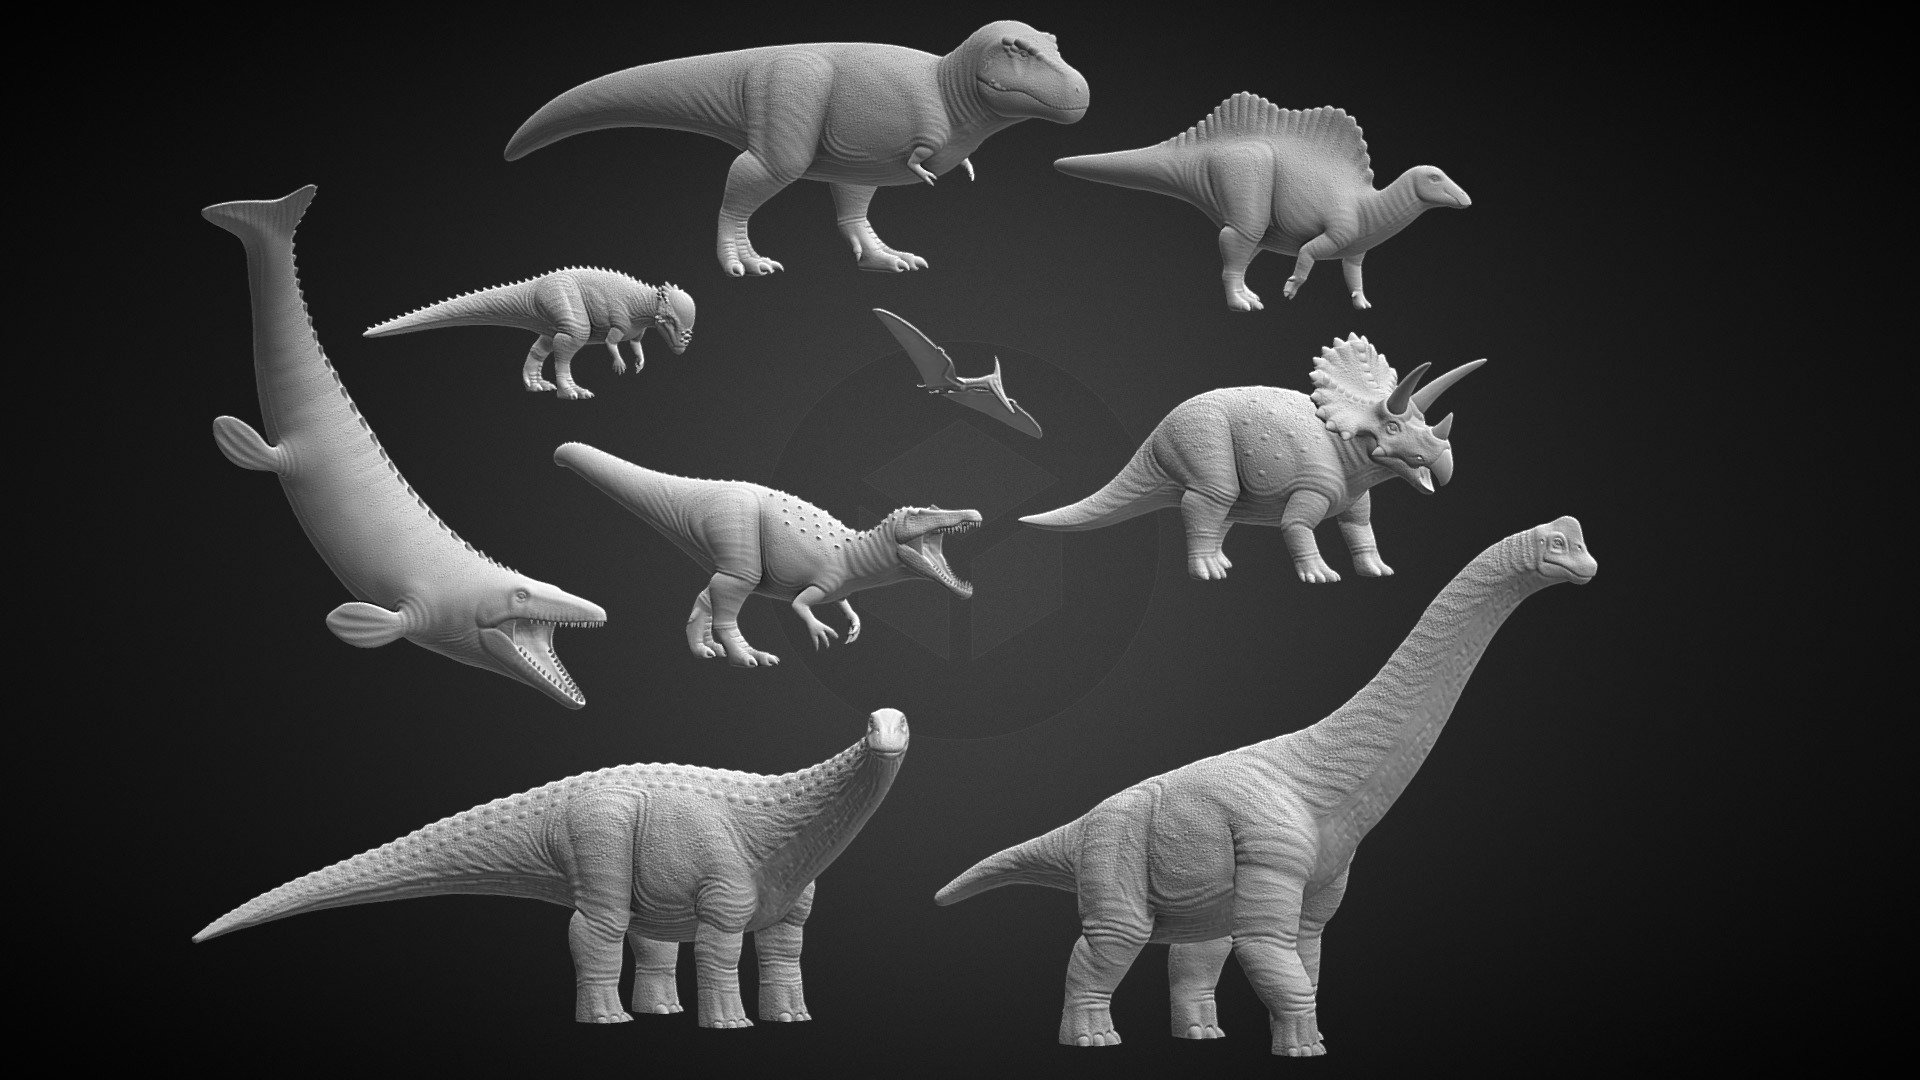
The first step in your 3D print dinosaur project is choose the right model. There are numerous resources useable online where you can notice free or paid 3D models of dinosaurs. Some popular websites include:
- Thingiverse
- MyMiniFactory
- Cults3D
- GrabCAD
When choosing a model, consider the following factors:
- Detail Level: High detail models will postulate more time and resources to print but will result in a more naturalistic final product.
- Size: Ensure the model fits within the construct volume of your 3D printer.
- Complexity: Some models may require assembly, while others are contrive as single piece prints.
- License: Check the certify terms to ascertain you can lawfully print and use the model.
Preparing the 3D Model for Printing
Once you have selected your 3D print dinosaur model, the next step is to prepare it for publish. This involves slit the model using specialized software. Popular slicing software options include:
- Cura
- PrusaSlicer
- Simplify3D
- Ultimaker Cura
Here are the key steps to prepare your model:
- Import the Model: Load the 3D model into your slicing software.
- Scale the Model: Adjust the size of the model to fit your printer's progress volume.
- Orientation: Position the model on the progress plate to minimize indorse material and ensure constancy during printing.
- Support Structures: Add back structures where necessary to prevent overhangs and ensure successful publish.
- Layer Height: Choose an appropriate level height based on the detail level you desire and the time you have available.
- Print Speed: Adjust the print hotfoot to proportion between print time and quality.
- Infill: Select an infill pattern and density to ply structural endorse without using excessive material.
- Generate G code: Once all settings are configure, yield the G code file that your 3D pressman will use to print the model.
Note: Always perform a test print with a pocket-size subdivision of the model to see all settings are correct before committing to a total print.
Selecting the Right Filament
Choosing the right filament is all-important for accomplish the desired lineament and durability of your 3D print dinosaur. Common filament types include:
- PLA (Polylactic Acid): Easy to print, biodegradable, and usable in a extensive range of colors. Ideal for beginners and detail prints.
- ABS (Acrylonitrile Butadiene Styrene): Stronger and more long-lasting than PLA, but requires a inflame bed and enclosed pressman. Suitable for functional parts.
- PETG (Polyethylene Terephthalate Glycol): Combines the ease of printing PLA with the durability of ABS. Good for both detail and functional prints.
- TPU (Thermoplastic Polyurethane): Flexible and lasting, ideal for parts that necessitate tractability, such as dinosaur tails or transferrable joints.
Consider the following factors when selecting your filament:
- Strength and Durability: Choose a filament that can withstand handling and likely impacts.
- Printability: Ensure the filament is compatible with your printer and slicing software.
- Color and Finish: Select a color that matches your vision for the dinosaur and see post processing techniques for a bettor finish.
Printing Your 3D Dinosaur
With your model prepared and filament select, it's time to start printing your 3D print dinosaur. Follow these steps for a successful print:
- Load the Filament: Insert the choose filament into your 3D printer and ensure it is properly charge.
- Preheat the Printer: Preheat the pressman bed and nozzle to the commend temperatures for your filament.
- Start the Print: Load the G code file into your printer and start the print job.
- Monitor the Print: Keep an eye on the print to secure there are no issues such as buckle, stringing, or layer shifting.
- Post Processing: Once the print is complete, permit it to cool before remove it from the establish plate.
Here are some mutual issues and solutions you might encounter during the printing procedure:
| Issue | Solution |
|---|---|
| Warping | Use a heated bed, apply adhesive to the construct plate, or adjust the print orientation. |
| Stringing | Adjust retraction settings in your slice software or increase print speed. |
| Layer Shifting | Check for loose belts or misaligned axes, and ensure your printer is level. |
| Under Extrusion | Increase the extrusion multiplier or check for clogs in the nozzle. |
| Over Extrusion | Decrease the extrusion multiplier or adjust flow rate settings. |
Note: Always ensure your printer is right fine-tune and preserve to avoid mutual printing issues.
Post Processing Techniques
After printing your 3D print dinosaur, post processing techniques can heighten the terminal appearing and durability. Here are some common post processing methods:
- Sanding: Use fine grit sandpaper to smooth out layer lines and rough edges.
- Priming: Apply a primer to fill in any small imperfections and prepare the surface for painting.
- Painting: Use acrylic paints to add colour and detail to your dinosaur. Consider using multiple coats for a more vibrant finish.
- Sealing: Apply a open sealant to protect the paint and furnish a glossy or matte finish.
- Assembly: If your model requires assembly, use glue or other adhesives to join the parts together.
Here are some additional tips for post treat:
- Work in a well ventilate area when sanding, ground, and painting.
- Use a variety of brush sizes for detail painting.
- Allow each coat of paint to dry completely before applying the next.
- Consider using a spray undercoat and paint for a more even finish.
Note: Always follow safety guidelines when using adhesives, paints, and sealants.
Displaying Your 3D Print Dinosaur
Once your 3D print dinosaur is complete, it's time to display your creation. Here are some ideas for showcasing your dinosaur:
- Display Stand: Create or purchase a display stand to showcase your dinosaur at an appropriate height.
- Diorama: Build a diorama with a prehistorical landscape to provide context and enhance the optical appeal.
- Lighting: Use spotlights or LED strips to spotlight your dinosaur and make dramatic effects.
- Interactive Elements: Add moveable parts or interactive features to get your dinosaur more engaging.
Consider the postdate factors when expose your dinosaur:
- Location: Choose a location that is visible and easily lit.
- Stability: Ensure the display is stable and unafraid to prevent inadvertent damage.
- Aesthetics: Match the display style with the overall decor of the room.
Your 3D print dinosaur is now ready to be admired and enjoyed. The process of designing, printing, and assembling your dinosaur is not only a fun and educational experience but also a testament to the unbelievable capabilities of 3D publish technology. Whether you're a beginner or an experienced maker, make a 3D print dinosaur is a honor project that combines art, science, and technology.
From selecting the right model to post processing techniques, each step of the journey offers opportunities to learn and better your skills. The concluding resolution a attractively craft 3D print dinosaur —is a tangible reminder of the wonders of the prehistoric world and the power of modern technology. Whether you choose to display it as a centerpiece or use it as an educational tool, your 3D print dinosaur is sure to captivate and inspire.
Related Terms:
- free 3d printable dinosaur
- dinosaur 3d model free download
- 3d print dinosaur skeleton
- 3d printed dinosaur
- 3d print dinosaur skull
- gratis 3d printable dinosaur models