Exploring the fascinating world of salt and ice experiments can be both educational and entertaining. These simple yet effective experiments demonstrate key scientific principles and can be easy deal with household items. Whether you're a instructor appear for a fun classroom action or a parent seeking a hands on project for your kids, salt and ice experiments offer a wealth of memorize opportunities.
Understanding the Science Behind Salt and Ice
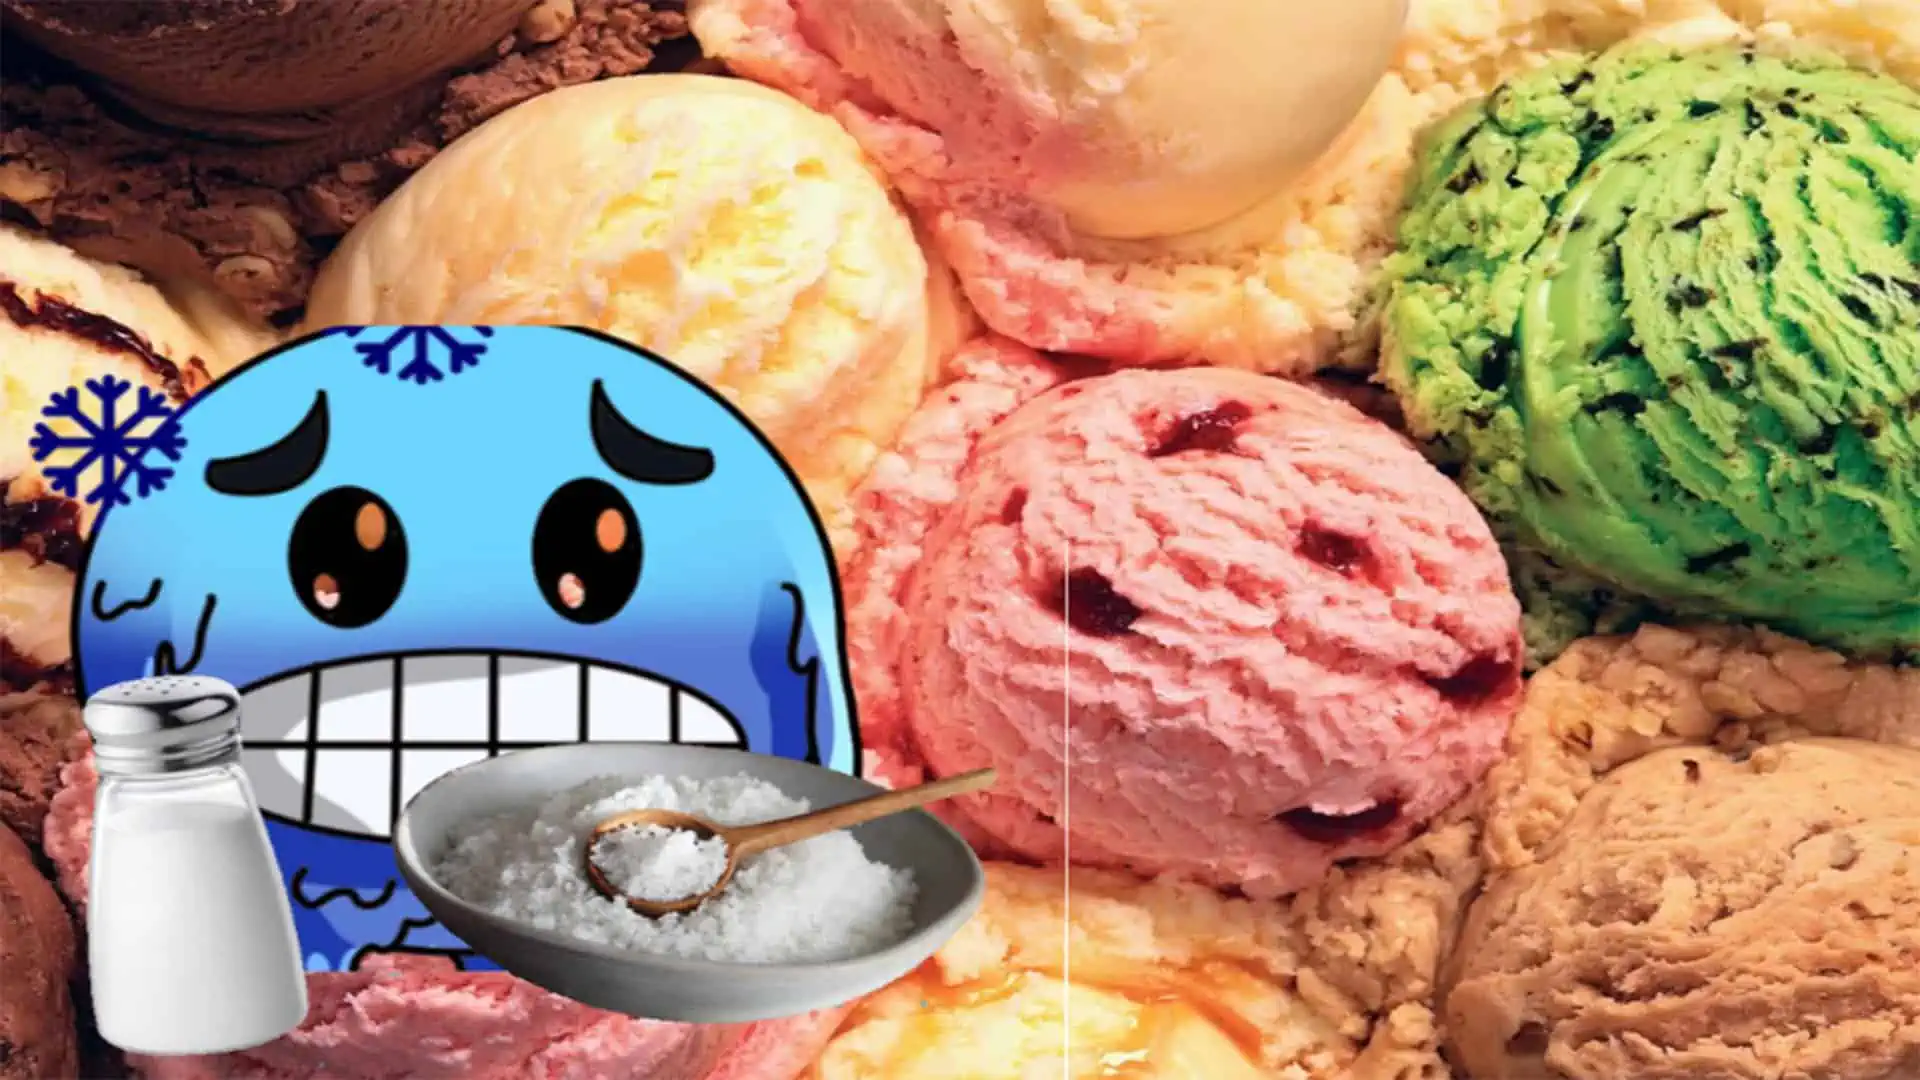
Before dive into the experiments, it's indispensable to interpret the skill behind salt and ice. The key principle at play here is the concept of freeze point depression. When salt is added to ice, it lowers the freeze point of the h2o, causing the ice to melt more chop-chop. This process is frequently used in real world applications, such as de icing roads during wintertime or get homemade ice cream.
Materials Needed for Salt and Ice Experiments
To conduct salt and ice experiments, you'll need a few basic materials that are readily usable in most households. Here's a list of what you'll necessitate:
- Ice cubes or crushed ice
- Table salt (sodium chloride)
- Water
- A bombastic bowl or container
- A smaller bowl or container that fits inside the larger one
- A thermometer (optional)
- Food coloring (optional)
Experiment 1: Melting Ice with Salt
This mere experiment demonstrates how salt and ice interact to lower the freezing point of h2o.
Steps:
- Fill the larger bowl with ice cubes or crushed ice.
- Place the smaller bowl inside the larger bowl, guarantee it is surrounded by ice.
- Sprinkle a generous amount of salt over the ice in the larger bowl.
- Observe the ice as it begins to melt more rapidly due to the presence of salt.
- Optionally, you can add food coloring to the smaller bowl to get the experiment more visually invoke.
Note: Be measured not to add too much salt, as it can create the ice melt too speedily and reduce the effectiveness of the experiment.
Experiment 2: Making Homemade Ice Cream
One of the most delicious salt and ice experiments is making homemade ice cream. This activity not only teaches scientific principles but also results in a tasty treat.
Ingredients:
- 1 cup of heavy cream
- 1 cup of whole milk
- 1 2 cup of granulate sugar
- 1 teaspoon of vanilla extract
- Ice cubes or beat ice
- Table salt
- A declamatory zip top pliant bag
- A smaller zip top formative bag
Steps:
- In the smaller zip top bag, combine the heavy cream, milk, sugar, and vanilla extract. Seal the bag tightly, making sure to remove as much air as possible.
- Fill the larger zip top bag with ice cubes or beat ice.
- Add about 1 2 cup of salt to the ice in the larger bag.
- Place the smaller bag inside the larger bag, ascertain it is surrounded by the ice and salt concoction.
- Seal the larger bag tightly and shake it vigorously for about 5 10 minutes, or until the mixture in the smaller bag turns into ice cream.
- Remove the smaller bag from the larger bag and rinse it under cold water to remove any salt residue.
- Open the smaller bag and enjoy your homemade ice cream!
Note: For a smoother texture, you can strain the ice cream assortment through a fine mesh sieve before freezing.
Experiment 3: Freezing Point Depression with Different Salts
This experiment explores how different types of salts affect the freeze point of h2o. It's a great way to compare the effectiveness of several salts in salt and ice experiments.
Materials:
- Ice cubes or crushed ice
- Table salt (sodium chloride)
- Kosher salt
- Epsom salt (magnesium sulfate)
- A declamatory bowl or container
- A smaller bowl or container that fits inside the larger one
- A thermometer (optional)
Steps:
- Fill the larger bowl with ice cubes or suppress ice.
- Place the smaller bowl inside the larger bowl, ensuring it is besiege by ice.
- Divide the ice into three equal portions and place each component in a divide container.
- Add an adequate amount of table salt to the first portion of ice, kosher salt to the second component, and Epsom salt to the third component.
- Observe the ice as it melts at different rates due to the front of different salts.
- Optionally, you can use a thermometer to mensurate the temperature of the ice in each container.
Note: Be sure to use the same amount of each salt to ensure accurate comparisons.
Experiment 4: Creating a Salt and Ice Volcano
This fun and visually stunning experiment combines salt and ice to make a toy volcano. It's a outstanding way to teach kids about chemic reactions and the properties of salt and ice.
Materials:
- Ice cubes or oppress ice
- Table salt
- Baking soda
- Vinegar
- A large bowl or container
- A smaller bowl or container that fits inside the larger one
- Food colourise (optional)
Steps:
- Fill the larger bowl with ice cubes or trounce ice.
- Place the smaller bowl inside the larger bowl, insure it is surrounded by ice.
- Sprinkle a generous amount of salt over the ice in the larger bowl.
- Add a few tablespoons of bake soda to the smaller bowl.
- Slowly pour vinegar into the smaller bowl, observing the response as the potpourri begins to fizz and bubble.
- Optionally, you can add food colorize to the vinegar to make the response more visually appeal.
Note: Be measured when manage vinegar, as it can cause skin irritation if not care right.
Experiment 5: Salt and Ice Slime
This experiment combines salt and ice to make a fun and tactile slime. It's a great way to teach kids about the properties of polymers and the effects of salt on ice.
Materials:
- Ice cubes or crushed ice
- Table salt
- White school glue
- Baking soda
- Contact lens solution
- A orotund bowl or container
- A smaller bowl or container that fits inside the larger one
- Food coloring (optional)
Steps:
- Fill the larger bowl with ice cubes or crushed ice.
- Place the smaller bowl inside the larger bowl, check it is surrounded by ice.
- Sprinkle a generous amount of salt over the ice in the larger bowl.
- In the smaller bowl, mix equal parts white school glue and baking soda.
- Add a few drops of food colorise to the glue mixture, if desired.
- Slowly add contact lens solution to the glue mixture, stimulate gently until the slime begins to form.
- Knead the slime with your hands until it reaches the desired consistency.
Note: Be sure to wash your hands thoroughly after handle the slime, as it can be sticky and difficult to remove.
Experiment 6: Salt and Ice Crystal Formation
This experiment explores the constitution of ice crystals using salt and ice. It's a great way to teach kids about the properties of crystals and the effects of salt on ice.
Materials:
- Ice cubes or crushed ice
- Table salt
- A tumid bowl or container
- A smaller bowl or container that fits inside the larger one
- Food colorise (optional)
Steps:
- Fill the larger bowl with ice cubes or trounce ice.
- Place the smaller bowl inside the larger bowl, control it is skirt by ice.
- Sprinkle a generous amount of salt over the ice in the larger bowl.
- Add a few drops of food tinge to the smaller bowl, if desired.
- Observe the establishment of ice crystals as the salt causes the ice to melt and refreeze.
Note: Be patient, as the shaping of ice crystals can take some time.
Experiment 7: Salt and Ice Density Experiment
This experiment demonstrates the concept of concentration using salt and ice. It's a great way to teach kids about the properties of liquids and solids and how salt affects the concentration of water.
Materials:
- Ice cubes or vanquish ice
- Table salt
- Water
- A large bowl or container
- A smaller bowl or container that fits inside the larger one
- Food tinge (optional)
Steps:
- Fill the larger bowl with ice cubes or crushed ice.
- Place the smaller bowl inside the larger bowl, ensuring it is ring by ice.
- Sprinkle a generous amount of salt over the ice in the larger bowl.
- Add water to the smaller bowl, fill it about halfway.
- Observe the h2o as it begins to freeze due to the front of salt.
- Optionally, you can add food colorize to the water to get the experiment more visually appealing.
Note: Be careful not to add too much h2o, as it can dilute the salt and trim the effectiveness of the experiment.
Experiment 8: Salt and Ice Insulation Experiment
This experiment explores the insulating properties of salt and ice. It's a outstanding way to teach kids about heat transportation and how salt affects the melting point of ice.
Materials:
- Ice cubes or crushed ice
- Table salt
- A tumid bowl or container
- A smaller bowl or container that fits inside the larger one
- Food tinge (optional)
Steps:
- Fill the larger bowl with ice cubes or crushed ice.
- Place the smaller bowl inside the larger bowl, ascertain it is skirt by ice.
- Sprinkle a generous amount of salt over the ice in the larger bowl.
- Add a few drops of food colorize to the smaller bowl, if want.
- Observe the ice as it begins to melt more easy due to the isolate properties of the salt.
Note: Be sure to use a thermometer to measure the temperature of the ice in the smaller bowl to assure accurate results.
Experiment 9: Salt and Ice Color Mixing
This experiment demonstrates the concept of color mixing using salt and ice. It's a outstanding way to teach kids about primary and secondary colors and how salt affects the melting point of ice.
Materials:
- Ice cubes or vanquish ice
- Table salt
- Water
- A large bowl or container
- A smaller bowl or container that fits inside the larger one
- Food distort (red, blue, and yellow)
Steps:
- Fill the larger bowl with ice cubes or oppress ice.
- Place the smaller bowl inside the larger bowl, see it is environ by ice.
- Sprinkle a generous amount of salt over the ice in the larger bowl.
- Add water to the smaller bowl, filling it about halfway.
- Add a few drops of red, blue, and yellow food distort to the water in the smaller bowl.
- Observe the colors as they mix and change due to the presence of salt.
Note: Be sure to use adequate amounts of each food colorize to ensure accurate coloration immix.
Experiment 10: Salt and Ice Buoyancy Experiment
This experiment demonstrates the concept of buoyancy using salt and ice. It's a great way to teach kids about the properties of liquids and solids and how salt affects the buoyancy of objects.
Materials:
- Ice cubes or oppress ice
- Table salt
- Water
- A turgid bowl or container
- A smaller bowl or container that fits inside the larger one
- Small objects (e. g., coins, marbles, etc.)
Steps:
- Fill the larger bowl with ice cubes or crush ice.
- Place the smaller bowl inside the larger bowl, ensuring it is surrounded by ice.
- Sprinkle a generous amount of salt over the ice in the larger bowl.
- Add h2o to the smaller bowl, filling it about halfway.
- Place small objects in the h2o and observe their buoyancy as the salt causes the h2o to become denser.
Note: Be sure to use objects of different sizes and shapes to observe how buoyancy changes with different objects.
Experiment 11: Salt and Ice Temperature Changes
This experiment explores how salt and ice affect temperature changes. It's a outstanding way to teach kids about heat transfer and the properties of salt and ice.
Materials:
- Ice cubes or crushed ice
- Table salt
- A declamatory bowl or container
- A smaller bowl or container that fits inside the larger one
- A thermometer
Steps:
- Fill the larger bowl with ice cubes or crushed ice.
- Place the smaller bowl inside the larger bowl, ensure it is surrounded by ice.
- Sprinkle a generous amount of salt over the ice in the larger bowl.
- Place a thermometer in the smaller bowl and observe the temperature changes as the salt causes the ice to melt.
Note: Be sure to use a thermometer that can measure temperatures below freezing to ensure accurate results.
Experiment 12: Salt and Ice Crystal Growth
This experiment demonstrates the growth of ice crystals using salt and ice. It's a great way to teach kids about the properties of crystals and how salt affects the constitution of ice crystals.
Materials:
- Ice cubes or crushed ice
- Table salt
- A turgid bowl or container
- A smaller bowl or container that fits inside the larger one
- Food coloring (optional)
Steps:
- Fill the larger bowl with ice cubes or mash ice.
- Place the smaller bowl inside the larger bowl, ensure it is surround by ice.
- Sprinkle a generous amount of salt over the ice in the larger bowl.
- Add a few drops of food coloring to the smaller bowl, if desired.
- Observe the growth of ice crystals as the salt causes the ice to melt and refreeze.
Note: Be patient, as the growth of ice crystals can guide some time.
Experiment 13: Salt and Ice Melting Point Comparison
This experiment compares the melting points of different types of ice using salt and ice. It's a outstanding way to teach kids about the properties of different types of ice and how salt affects their dethaw points.
Materials:
- Ice cubes or crush ice
- Table salt
- Kosher salt
- Epsom salt (magnesium sulfate)
- A bombastic bowl or container
- A smaller bowl or container that fits inside the larger one
- A thermometer
Steps:
- Fill the larger bowl with ice cubes or squelch ice.
- Place the smaller bowl inside the larger bowl, ensuring it is skirt by ice.
- Divide the ice into three adequate portions and position each portion in a secernate container.
- Add an equal amount of table salt to the first portion of ice, kosher salt to the second portion, and Epsom salt to the third share.
- Place a thermometer in each container and observe the melting points of the ice as the salt causes it to melt at different rates.
Note: Be sure
Related Terms:
- salt and ice trick recipe
- salt and ice diet
- salt on ice cube diet
- ice and salt challenge
- salt and ice water
- salt ice recipe